Kim Brandwijk, from Farmsim Forensics, looked into the problem of making tracks in 3D. Formerly achievable with scripts, which excluded the mod for use on consoles, the developer proposes a method from the Blender software, in order to create the famous “trackArray” file that only Giants Software could produce.
The article below is a translation into good French from Farmsim Forensics post available here. We thank them for making this great tool available to everyone and for allowing us to share it.
Considered by many to be the holy grail of tracked vehicles in FS19, it's a topic of controversy in the community: 3D tracks. And not just any 3D tracks, but 3D tracks that don't require any scripting, and can be created in any shape, and GIANTS approved for PC and consoles.
How do GIANTS 3D tracks work?
A caterpillar is made up of 3 elements: a mesh of a caterpillar (flat), a special image (trackArray) and some shader to give the caterpillar its final shape, using the information in the image.
This technique is based on something called Vertex Animation Texture (VAT), and as the name suggests, it works by encoding information about the position and / or rotation of vertices in pixels in an image. This is very efficient, because you can store a lot of information in a small frame (you can encode a 30 minute animation with hundreds of animated structures in a single 4K texture), and because everything is processed by the GPU. It doesn't put a strain on the CPU, so it's generally very efficient.

The trackArray is made up of two images. The top one contains information on the position of each "link" in the caterpillar, the bottom one contains information for the rotation. For rubber tracks, these values are interpolated smoothly, because a rubber track is a soft shape. For metal track type tracks, each pixel corresponds to a single link of the track.
Store position and rotation information in a pixel ?!
Now that the shader code has revealed that it wants to read the position and rotation data from this image, the next step in unraveling the mystery was to understand how this information is encoded in these colored pixels. Again, the shader code delivered some secrets, as it uses the image's 'xyz' for position (simple coordinates) and 'xyzw' for rotation, suggesting that the rotation information should be stored as quaternion values, which is a special representation of rotation (see https://en.wikipedia.org/wiki/Quaternions_and_spatial_rotation for an in-depth introduction to quaternions). Decoding this data, pixel by pixel, from existing trackArray images, and comparing it with the actual position and rotation of track elements, confirmed the theory, so now we know what information to store in the image. and in what format they should be stored.
Creation of new caterpillar shapes
As enjoyable as an exercise in deciphering the pixels of an image is, it is futile without the ability to generate our own brand new caterpillar shapes. It turns out that all of GIANTS 'tracks are created in an expensive 3D modeling program called Houdini, which has an add-on for VAT. These tools aren't available to the average modder, so I decided to create something for Blender that would have the same purpose.
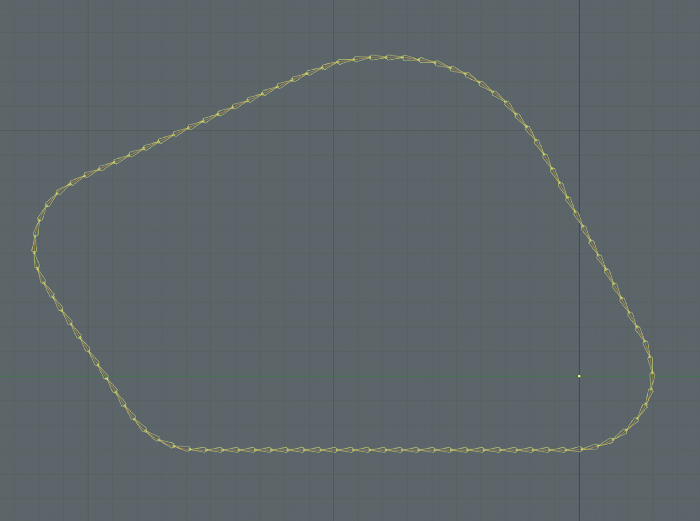
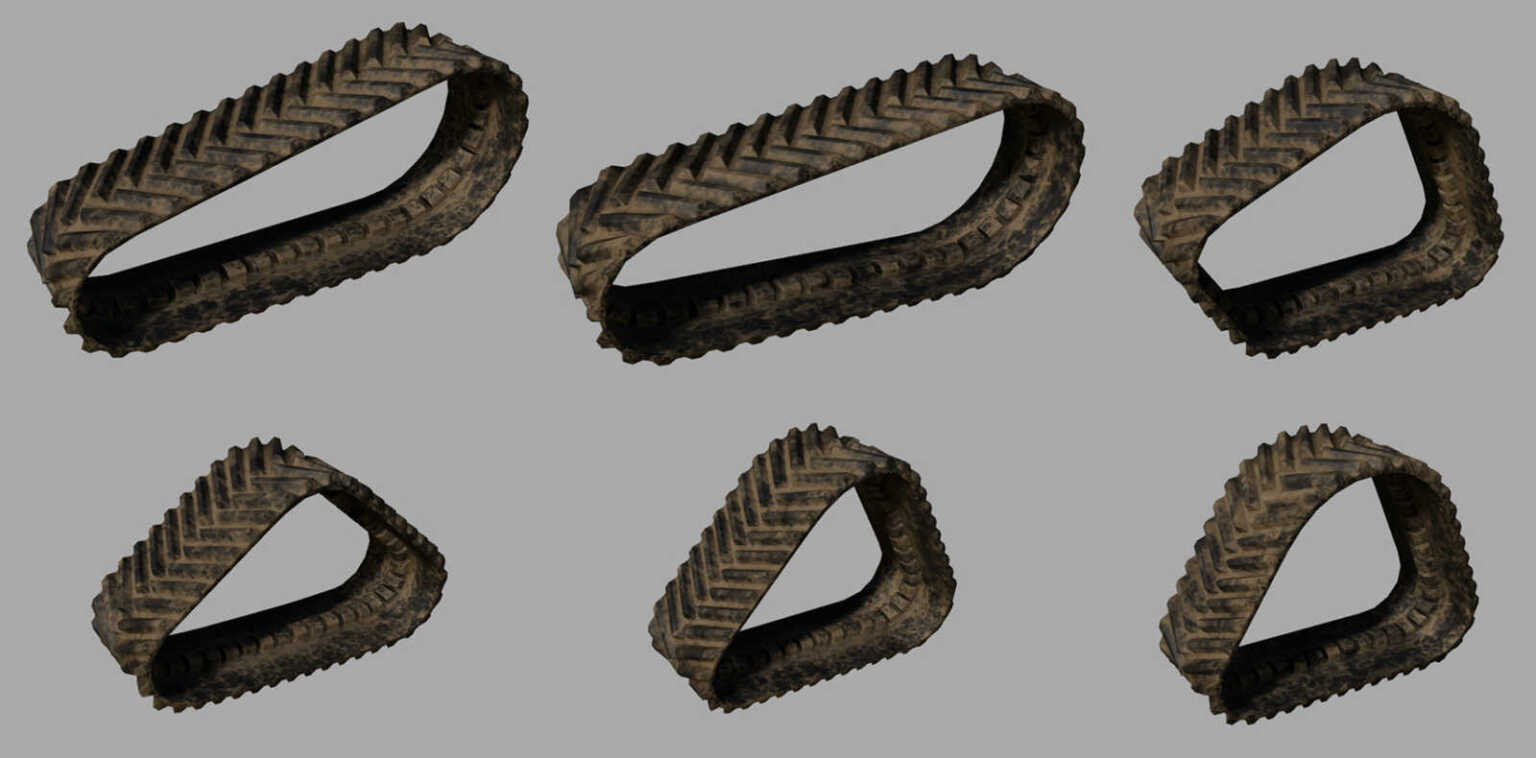
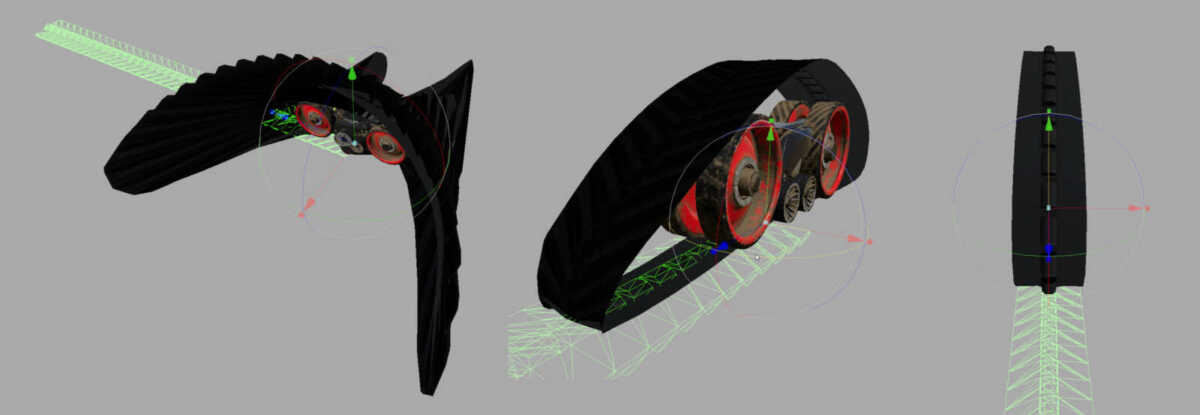
For the shape of the caterpillar, I opted for a curved object. It is very easy to modify the shape, it can even be generated from an existing mesh and other objects can easily be configured to follow a curve.
To represent the caterpillar, a frame with 100 bones is put in place to follow the curve. For rubber tracks, these 100 structures provide an accuracy of 10 cm per pixel or better, based on the default track mesh which is 10 meters long.
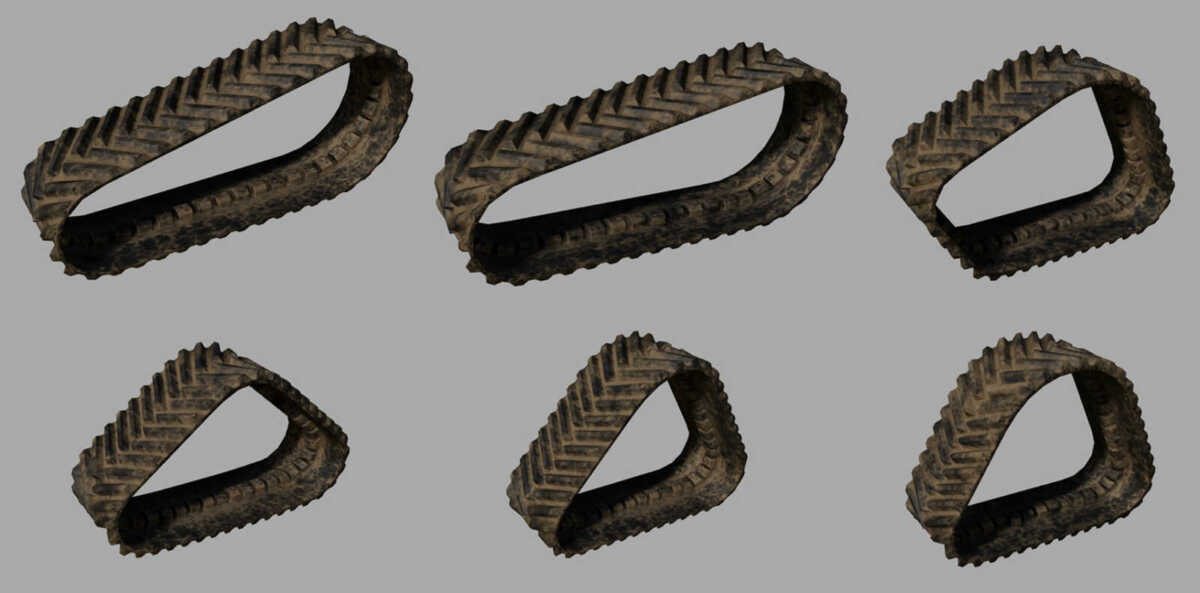
This technique is a quick and easy way to define track shapes. The blender file, shared at the end of the article, also offers the option to use a background image to easily recreate existing caterpillar shapes in the real world.
Creating TrackArray images
Unfortunately, Blender does not have VAT functionality. There have been a few user experiences, but none of them resulted in anything usable for this purpose, so it should be programmed from scratch. To stay on the theme of "things Blender doesn't support", there is no DDS support in Blender. There is also no other built-in image format suitable for our purpose. The only format that would support the 32-bit depth that we need to store information is OpenEXR. However, no library supports converting EXR to DDS. No problem, we can just create our own DDS, right from Python. I'm sure there is a library that can do this, right? Well no. What does exist, however, is a Python module for writing TIFF files, a format that supports 32-bit depth and can easily be converted to DDS by… just about any tool.
So the script would read the position and rotation of each bone in the chain, write it to a TIFF image, and at the end of the script, convert the TIFFs for the position and rotation to a single DDS texture file. Turns out there are a million different ways to mess up reading, converting, and writing coordinates and quaternions ...
And then, finally, it happened.
But that wasn't the complete end of the story. The exporter worked, but due to all the libraries and tools needed the installation had become a nightmare, running Blender with administrator privileges for the installation, packaging the command line tools in the addon, none of the things you would want, ideally.
When I first thought about writing a DDS straight away, it seemed like a daunting task. It's a complicated file format, with headers and all kinds of flags and fields that you need to set correctly. But… we don't create just any DDS, we create a very, very specific DDS, with a very specific layout: 2 images, always with the same size, the same bit depth, no mipmaps, etc. Apart from the data pixel, the DDS would always be completely identical. So why not just hard-code it and just put in the pretty colors for the specific shape of the caterpillar. It turned out to be much easier, faster, and eliminated all libraries and command line tools. And the exporter was finished.
So… how do you create your caterpillars?
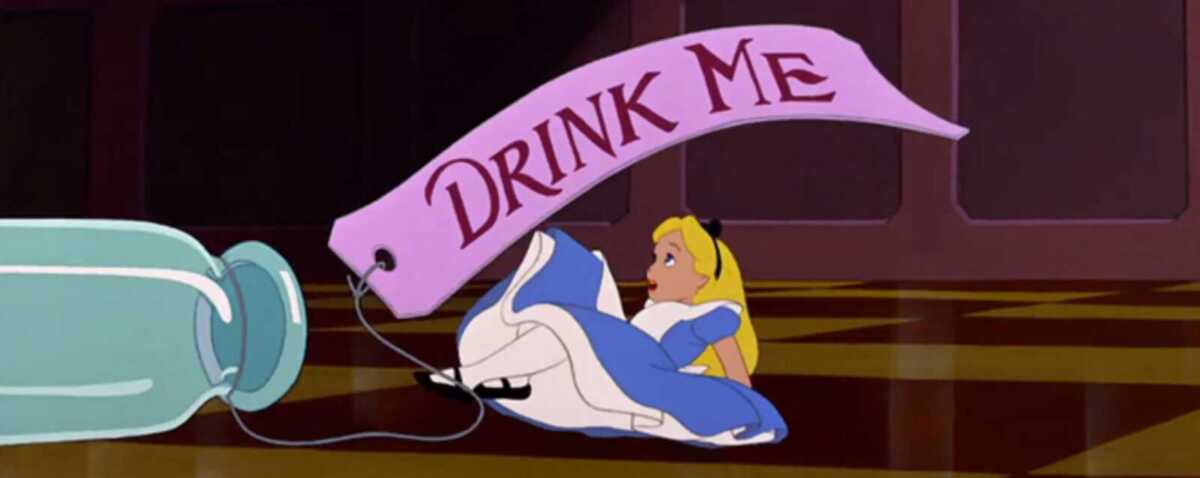
If you are still reading this, you probably have a question left: how do I create my caterpillars? First, download the blender file from the download links below. Much like Alice in Wonderland, the file contains three main objects: a background image ("REPLACE ME"), a curve ("EDIT ME") and an armature ("EXPORT ME ").
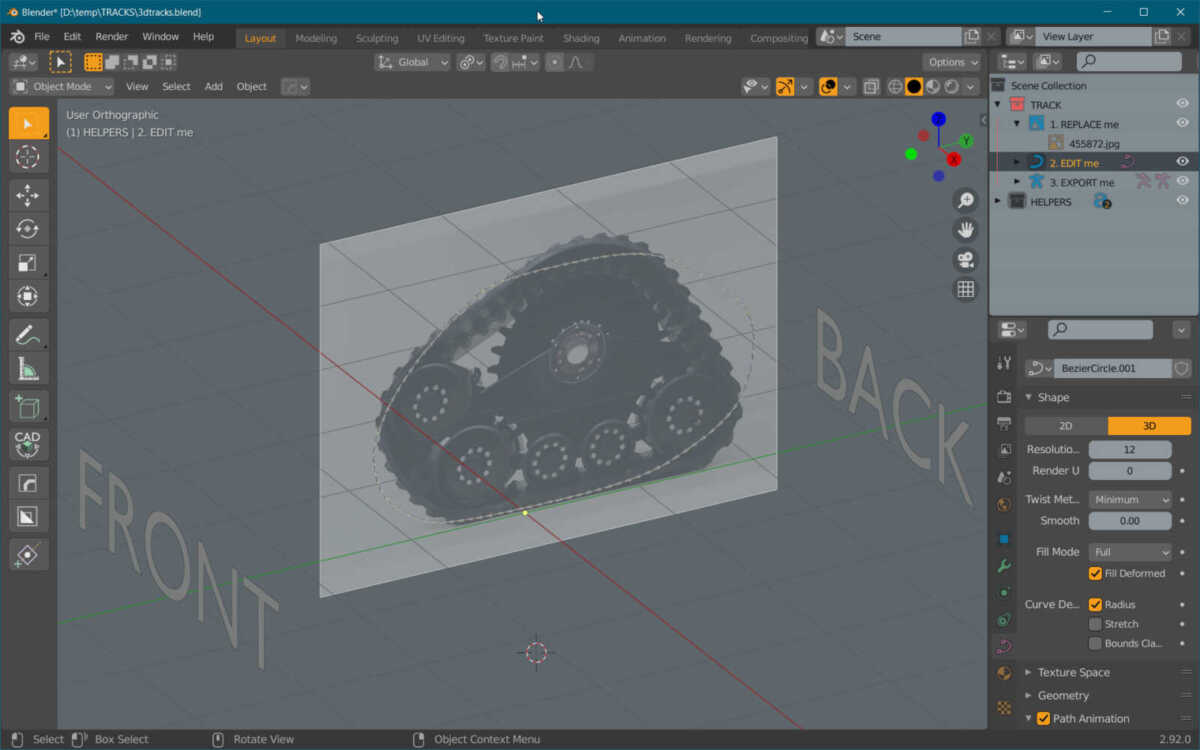
Don't spin anything, don't move, don't rotate anything. All you have to do is shape the curve the way you want it, using a background image as a reference if needed.
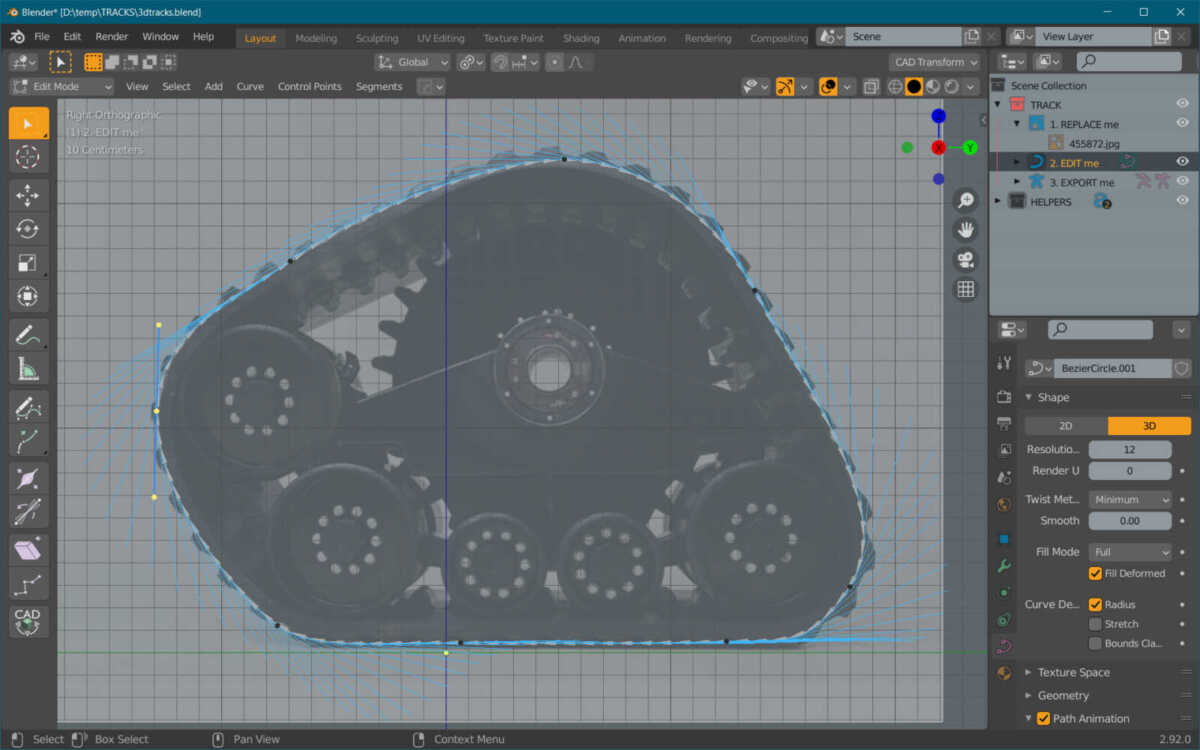
When you are finished, select the reinforcement to export.
Exporting the TrackArray Image
To export the TrackArray image, you must first download and install the export add-on. With the addon properly installed, there should be a new entry in the File> Export menu for the TrackArray image.
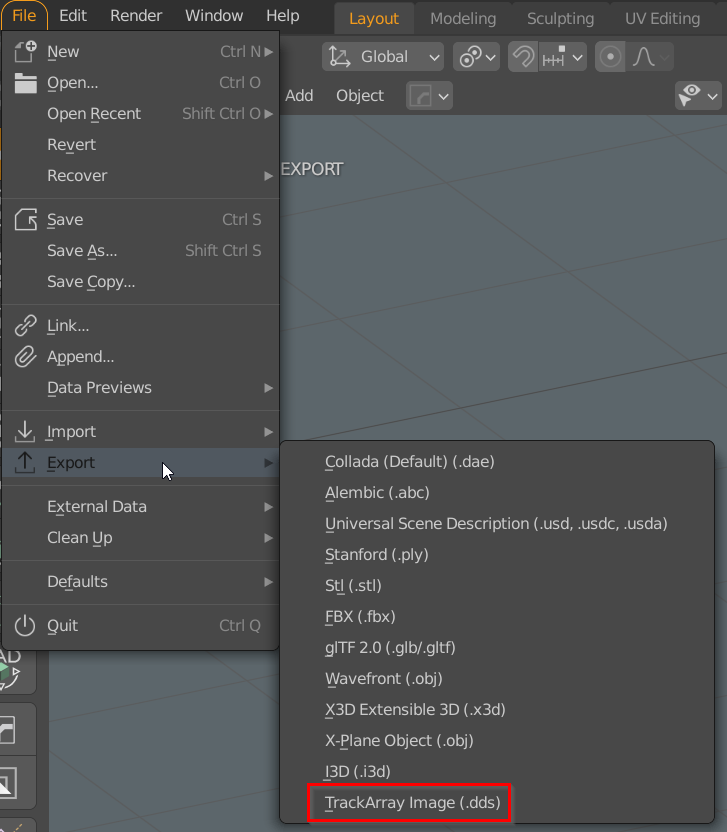
With the reinforcement selected (labeled "Export Me"), select a new export option. The standard save dialog box opens and you can select where to save your TrackArray image.
Congratulations ! You have just created your own 3D caterpillar shape.
You are now ready to use your new TrackArray shape in the Giants editor.
Assemble the caterpillar in GIANTS Editor
For the last step, we'll move on to GIANTS Editor. In theory, you could do these steps in Blender as well, as SterneIdioten's amazing community exporter allows you to select shaders and set shader parameters, but it won't bring the caterpillar to life until you load it. in the game editor, so for the sake of this article, we're doing it in GIANTS Editor.
First, make sure you have exported a mesh flat. As I mentioned earlier, GIANTS uses a 10 meter long track mesh, which works particularly well with the number of bones we used to generate our trackArray, so unless you know exactly what you are doing. do, I suggest you stick to these dimensions.
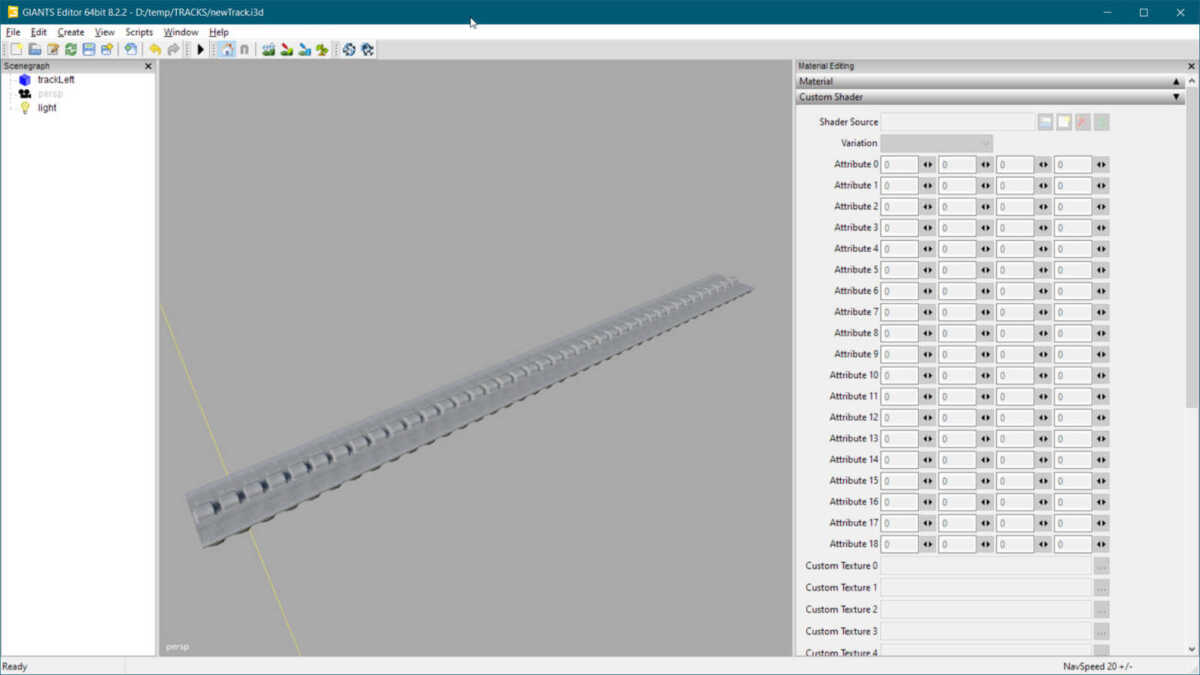
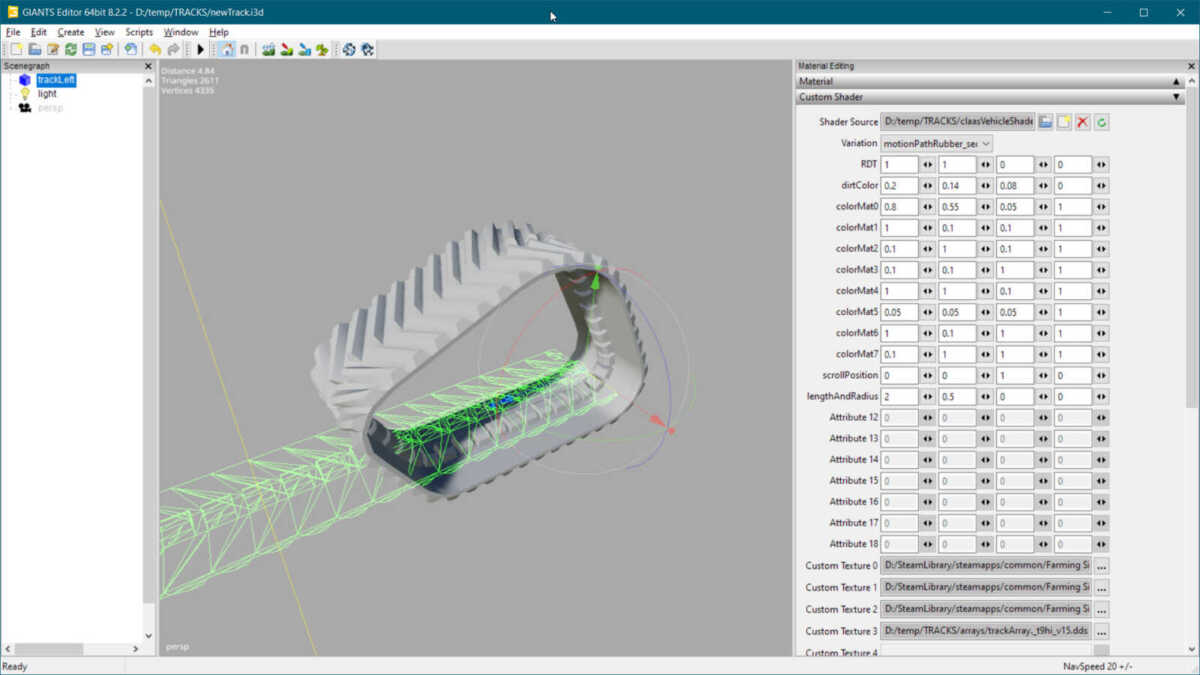
Next, we'll assign a shader to our mesh. The shader is a special variation of the vehicleShader that we all know and use. It is not included in the shared base game files, but it is available through a mod GIANTS Axion Terra Trac on the official ModHub. Copy this shader to your mod folder and select it. Under variation, choose 'motionPathRubber_secondUV_colorMask'. This will temporarily make your caterpillar mesh disappear. This is totally normal, as we haven't told him about our TrackArray image yet.
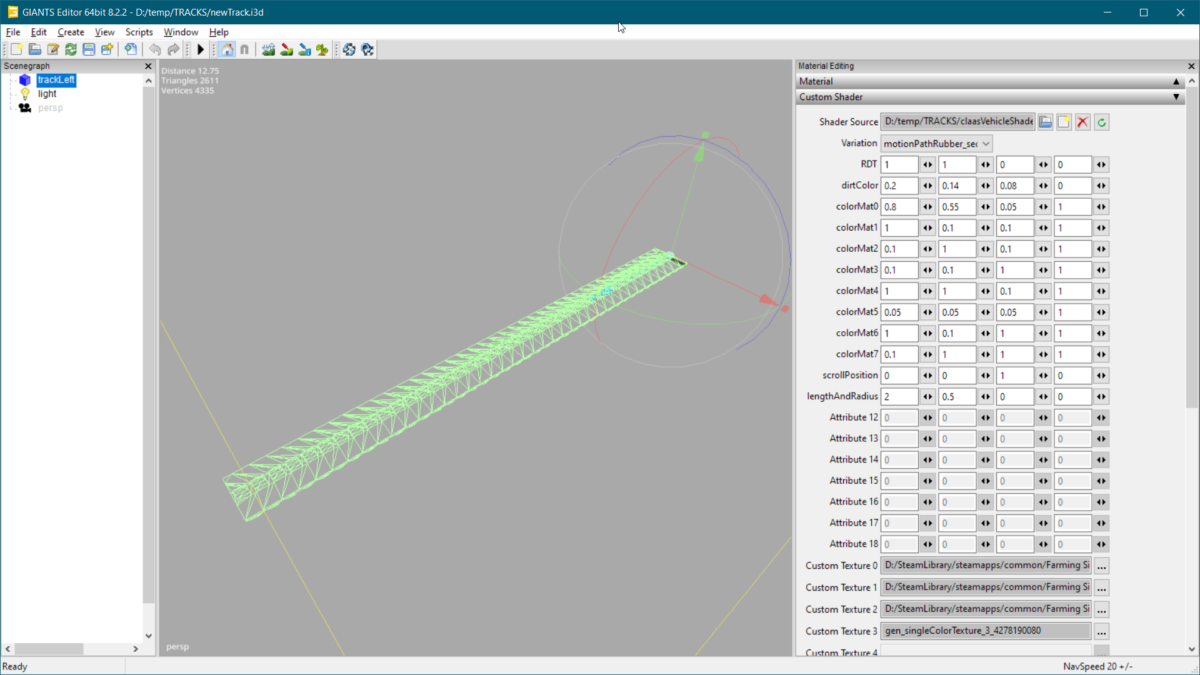
In the shader properties panel, click on the 3 small dots of “Custom Texture 3” and select the TrackArray image we created.
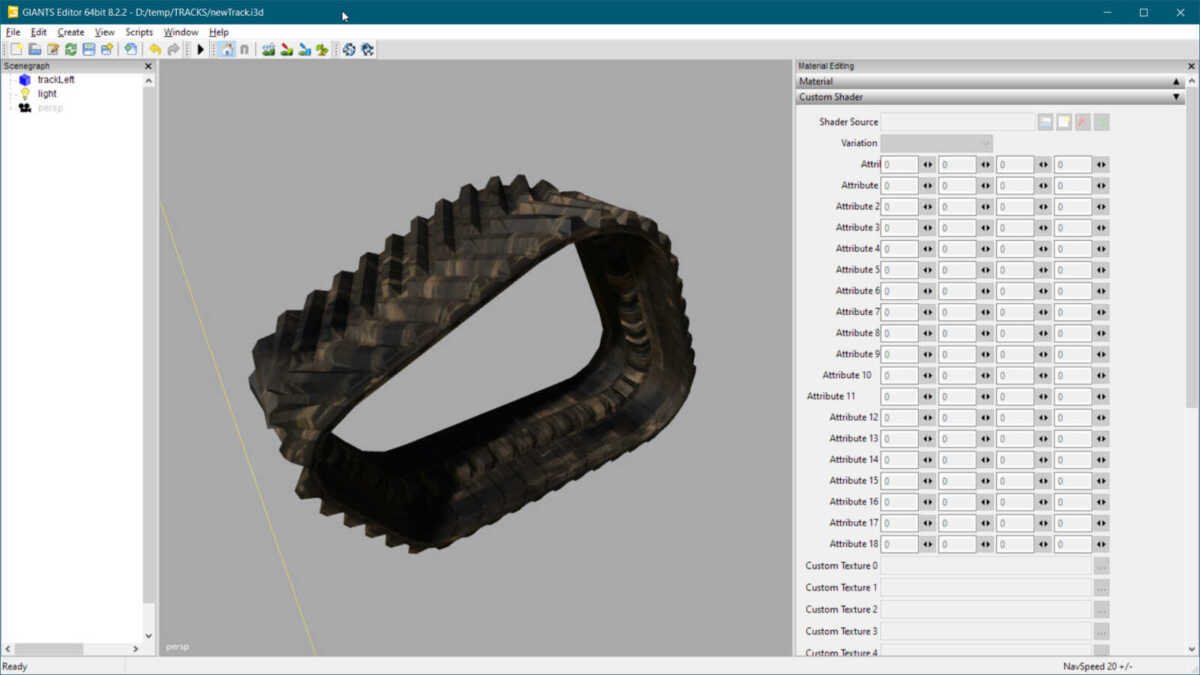
The map for wear, dirt, AO with their own UV map, as well as the UDIM material and color based on your first UV map on your mesh, all work like all other parts of the vehicle, so this should sound familiar to you. The end result, correctly textured and configured, should look like this:
I will skip the configuration of the tracks to mount them on a vehicle. There are many examples of how to do this. An end-to-end video is in the works that will include this part of the process as well.
And after?
This is the initial version of the project and addon for Blender. And while it's fully functional for rubber tracks, I will continue to work on it to bring the same functionality to Blender for rigid tracks. Also in project, I would like to allow the visualization of caterpillars directly in Blender. This is part of a larger attempt to bring other parts of the vehicleShader (like UDIM materials) to Blender. We'll keep you posted !